The Localization module empowers you to translate content both within and outside of Usetiful. It comprises an intuitive administration interface for efficient translation management and an API that provides access to translated terms from the system.
You can translate Tours, Smart Tips, Checklists, Banners and Surveys.
Localizations are available in the Premium plan or higher.
1. Setting Up Your Languages
The first screen of the Localization module shows the languages you've added.
To Add a New Language: Click the
+Add Languagebutton and select your desired language from the dropdown menu.
To Manage Translations: Use the
Editbutton next to any language to see all the content that needs translating (Terms).

2. Setting the Default Reference Language
To streamline your workflow, you can set a global reference language that will act as the default comparison point for all translation tasks.
How to set it: Click the Settings button (located next to the "+ Add Language" button).
Action: In the modal that appears, select your Default Reference Language (e.g., English) from the dropdown menu and click Save.
The Benefit: This ensures that whenever you open a language for editing, your preferred reference text is automatically displayed next to the translation fields, making comparison and translation easier.

3. Understanding Terms and Translations
Each language contains terms and translations. It's important to note that all languages share identical terms but different translations.
- Terms are the original pieces of text in your content (e.g., "Welcome to our site").
- Translations are the foreign-language versions of those terms.
- Key Fact: All languages share the same Terms but have different Translations.

4. How to Add Your Content for Translation
You don't have to manually create the Terms! Usetiful can generate them automatically from your existing content.
Go to the content settings (for your tour, banner, etc.).
In the 'Localization' section, activate the toggle.
Choose the language currently used in that content (e.g., English).
Save the content.
What happens next? The system automatically creates a unique Term for every text segment and populates your chosen language with the corresponding translation.
CRITICAL WARNING: If you change the language in the content settings and save it again, the system will overwrite the translations for that new language and erase all previous translations in other languages. Be very careful when changing the content's language setting.

5. Translating Your Content
Once the Terms are generated, you can translate them in the Localization module.
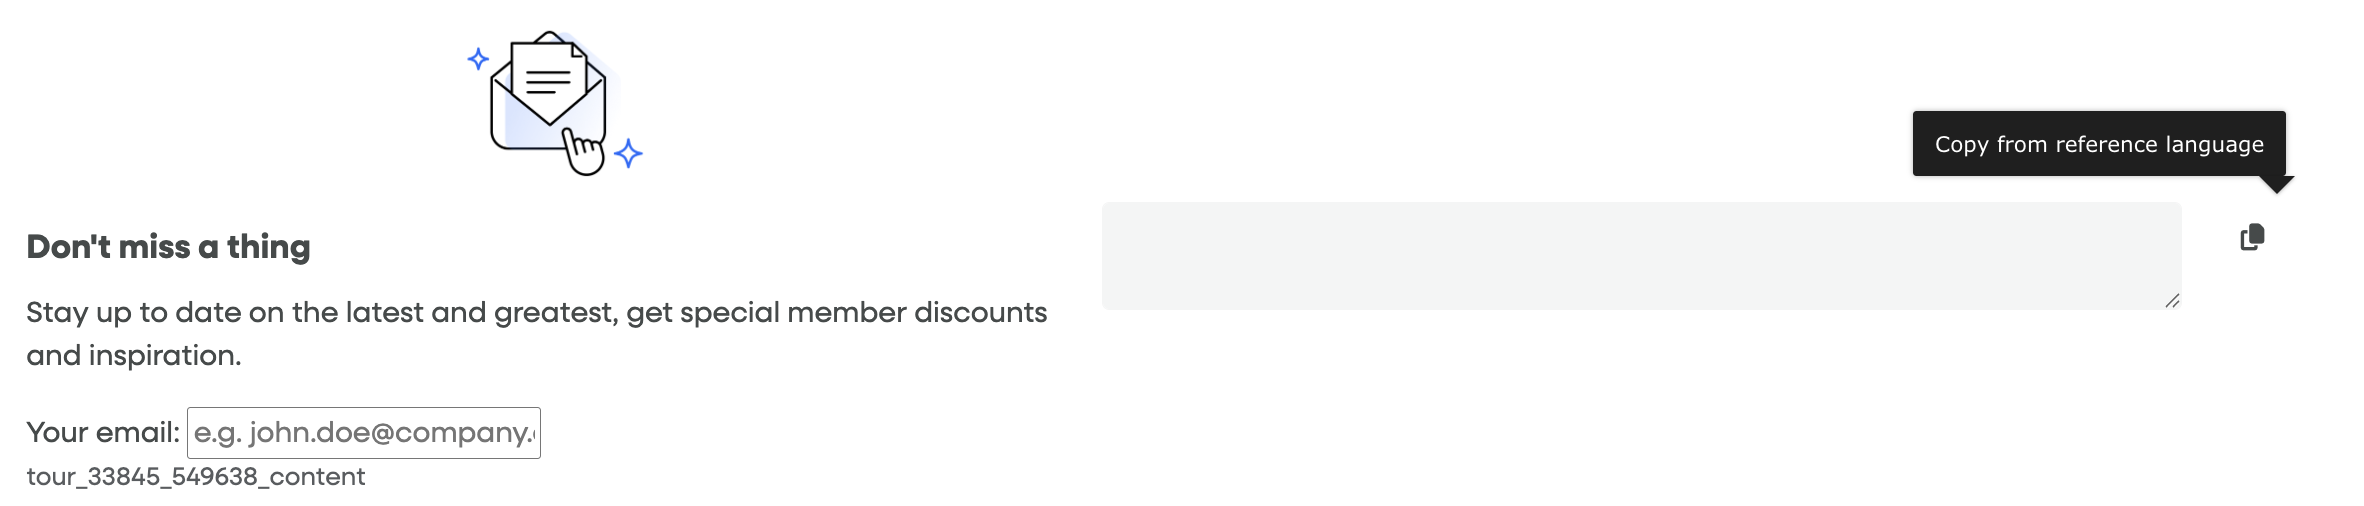
Translating Content with Images: If a Term includes a picture, use the
Copybutton next to the translation field. This will copy the content (including image code) into the translation field, ready for you to change only the text.
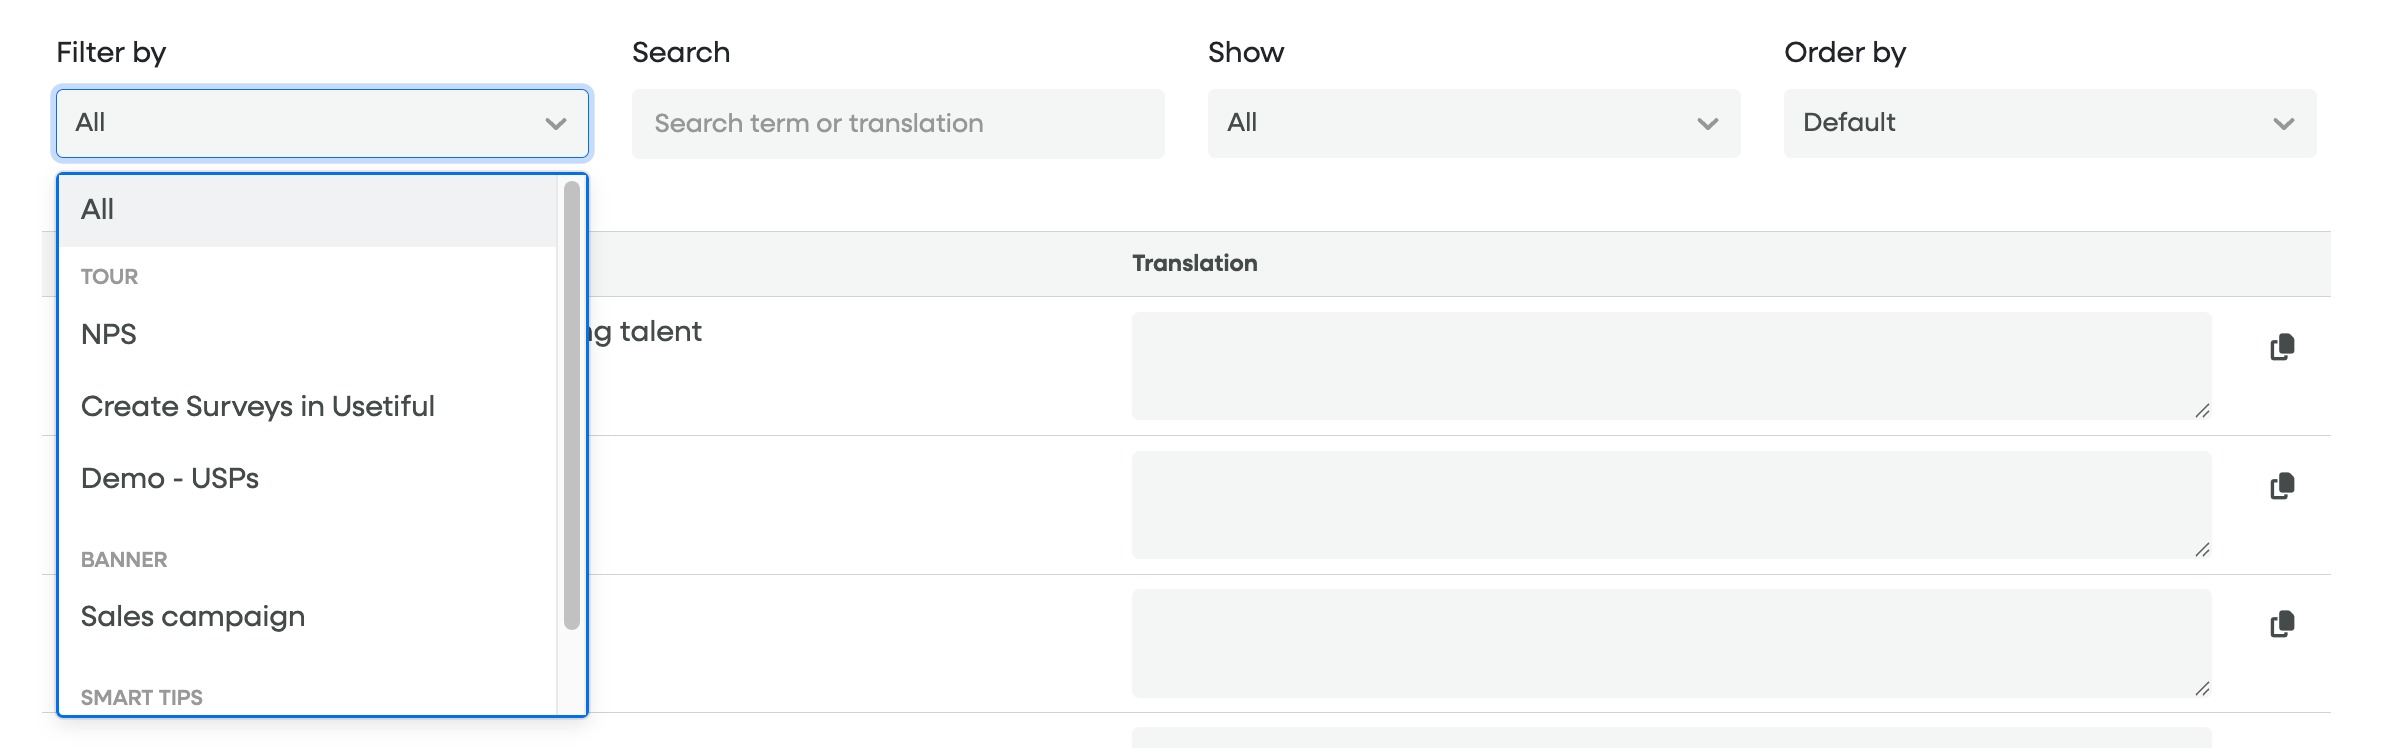
Filtering: Use the filtering option to focus only on untranslated terms and content.
6. Importing and Exporting Translations
To translate large amounts of text outside of Usetiful:
Use the
Exportfunction to download all your Terms in CSV, JSON, or XLIFF format.Have your translators work on the file.
Use the
Importbutton on the language detail page to upload the translated file back into the selected language.
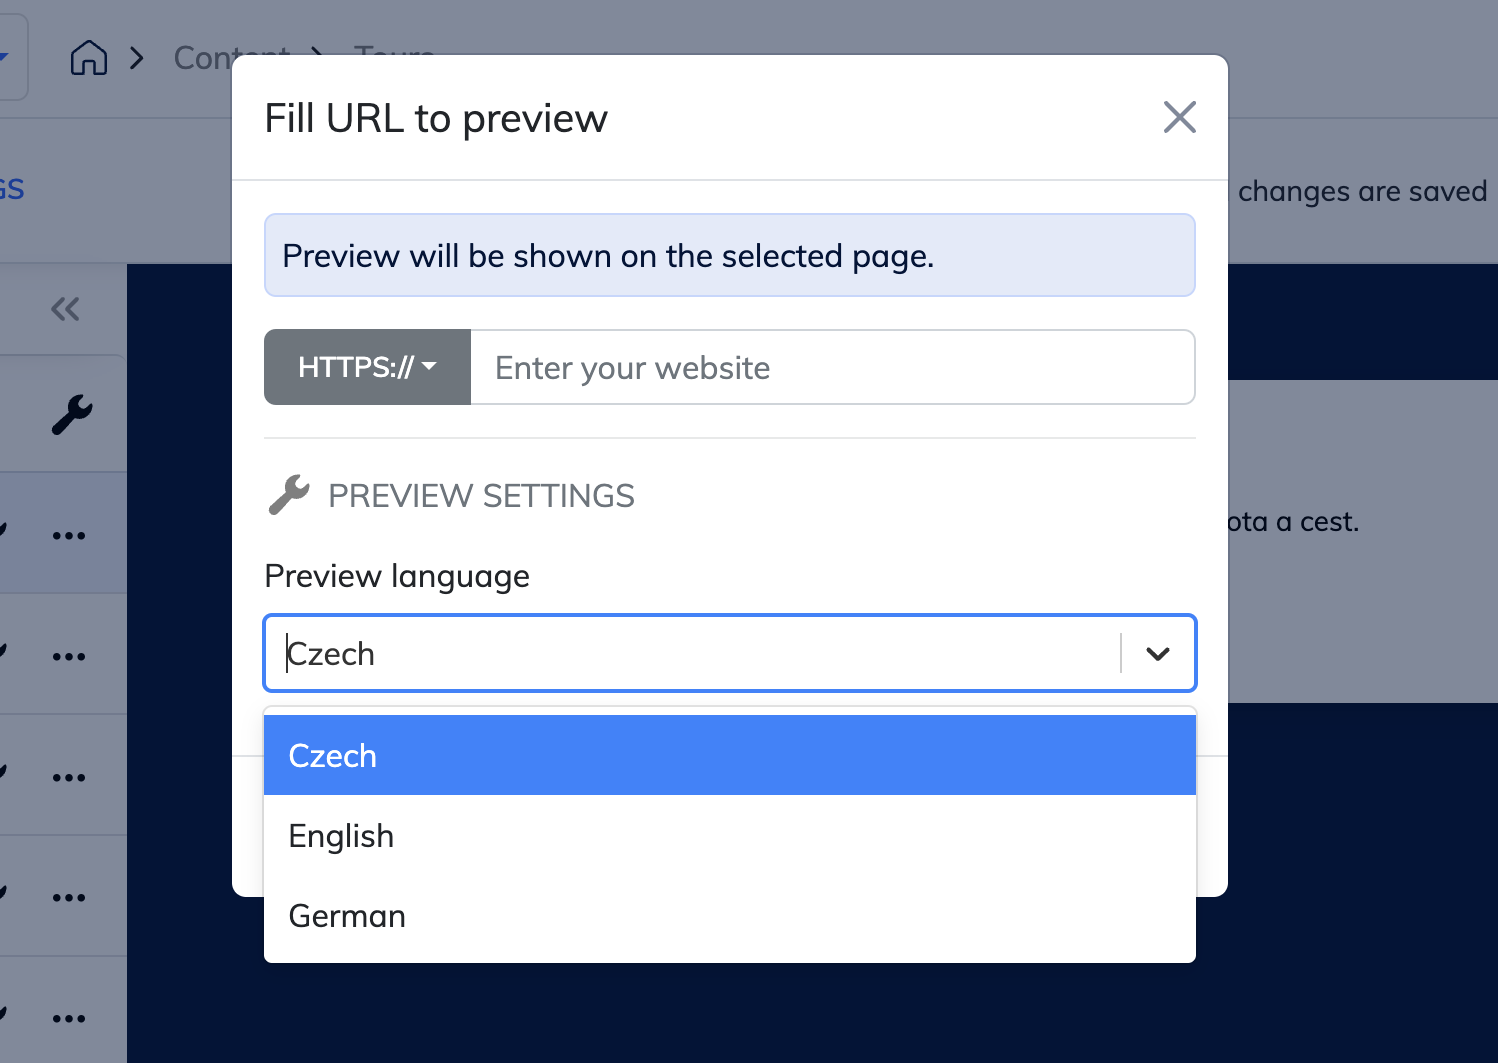
7. How Users See and How You Preview Translations
After you've completed and saved the translations:
User View: Usetiful automatically shows your end-users the content in their correct language, based on the
langattribute in their website's HTML tag.

Previewing Translations: You can preview the translated tour in any language you have set up in the Localization module. Watch the video below and learn how to choose different languages for the preview tour.